In this auspicious occasion, we are delighted to delve into the intriguing topic related to Let’s Sculpt with Air-Dry Clay!. Let’s weave interesting information and offer fresh perspectives to the readers.
Introduction
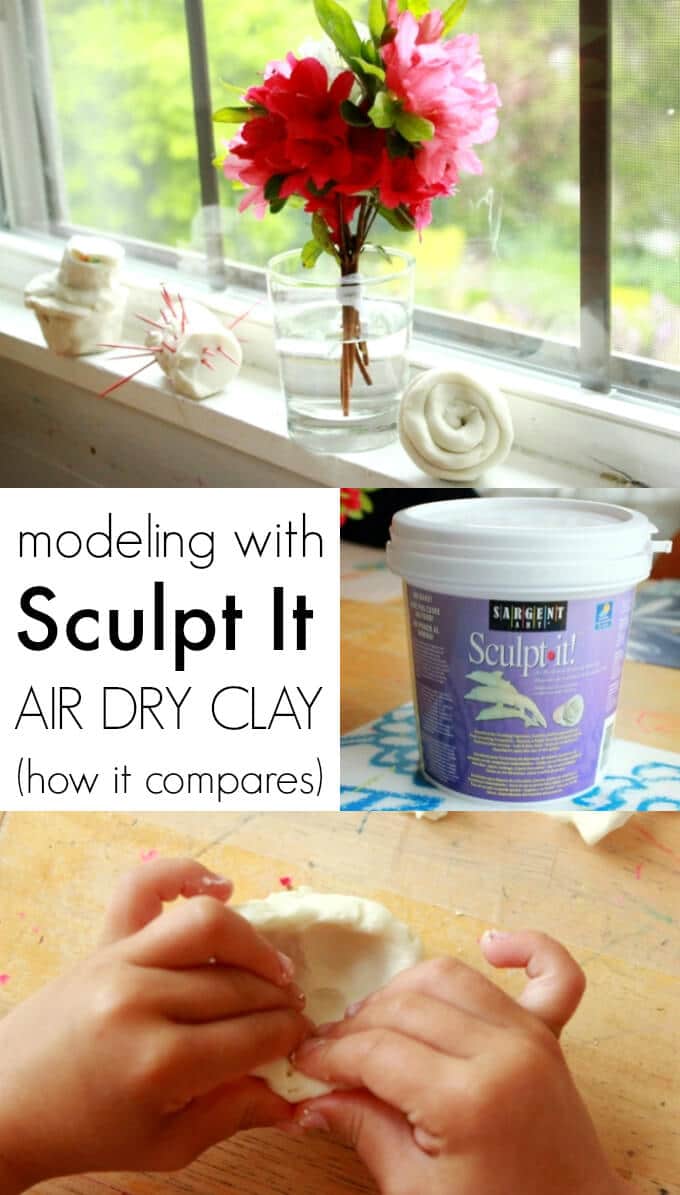
Let’s Sculpt with Air-Dry Clay!

Hey there, budding artists! Today we’re going to dive into the exciting world of air-dry clay. It’s a fantastic medium for creating all sorts of cool sculptures, and it’s super fun to work with!
Before we get started, tell me, have you ever worked with clay before? What kind of sculptures are you hoping to make?
What is Air-Dry Clay?
Air-dry clay is a special type of clay that hardens when it dries out in the air. No need for a kiln or fancy equipment! It’s perfect for beginners because it’s easy to use and doesn’t require baking.
The Benefits of Working with Air-Dry Clay:

- It’s Mess-Free (Almost!): Unlike wet clay, air-dry clay is less messy and doesn’t require a lot of cleanup.
- It’s Versatile: You can mold it into almost any shape you can imagine.
- It’s Affordable: Air-dry clay is relatively inexpensive, making it perfect for experimentation.
- It’s Fun and Relaxing: The act of sculpting can be very therapeutic and relaxing.
- It’s a Great Way to Express Yourself: Clay allows you to bring your creative ideas to life.

Let’s Get Started!
Materials You’ll Need:
- Air-dry clay
- A work surface (like a table or a cutting board)
- A rolling pin or a smooth object to flatten the clay
- Tools for shaping (like toothpicks, plastic knives, or your fingers)
- A cutting tool (a plastic knife or a craft blade)
- Optional: Acrylic paint, paintbrushes, and a sealant (to protect your finished sculpture)
Step-by-Step Guide to Sculpting with Air-Dry Clay:
- Prepare Your Work Surface: Cover your work surface with a piece of plastic or parchment paper to prevent sticking.
- Warm Up the Clay: Knead the clay in your hands for a few minutes to soften it. This will make it easier to mold.
- Shape Your Sculpture:
- Ball: Start with a simple ball of clay. Roll it between your palms until it’s smooth and round.
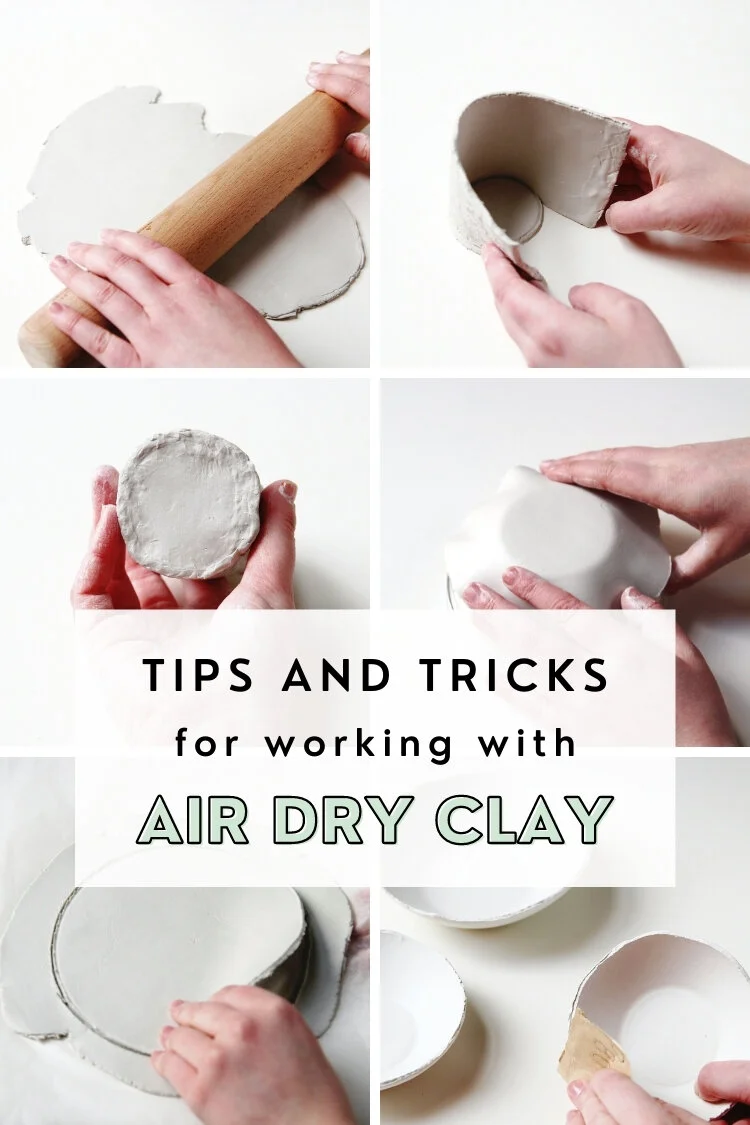
- Cylinder: Roll the clay into a long, even cylinder. You can use a rolling pin to help you.
- Flat Shapes: Roll the clay out into a thin sheet using a rolling pin. Then you can cut out shapes using cookie cutters or a knife.
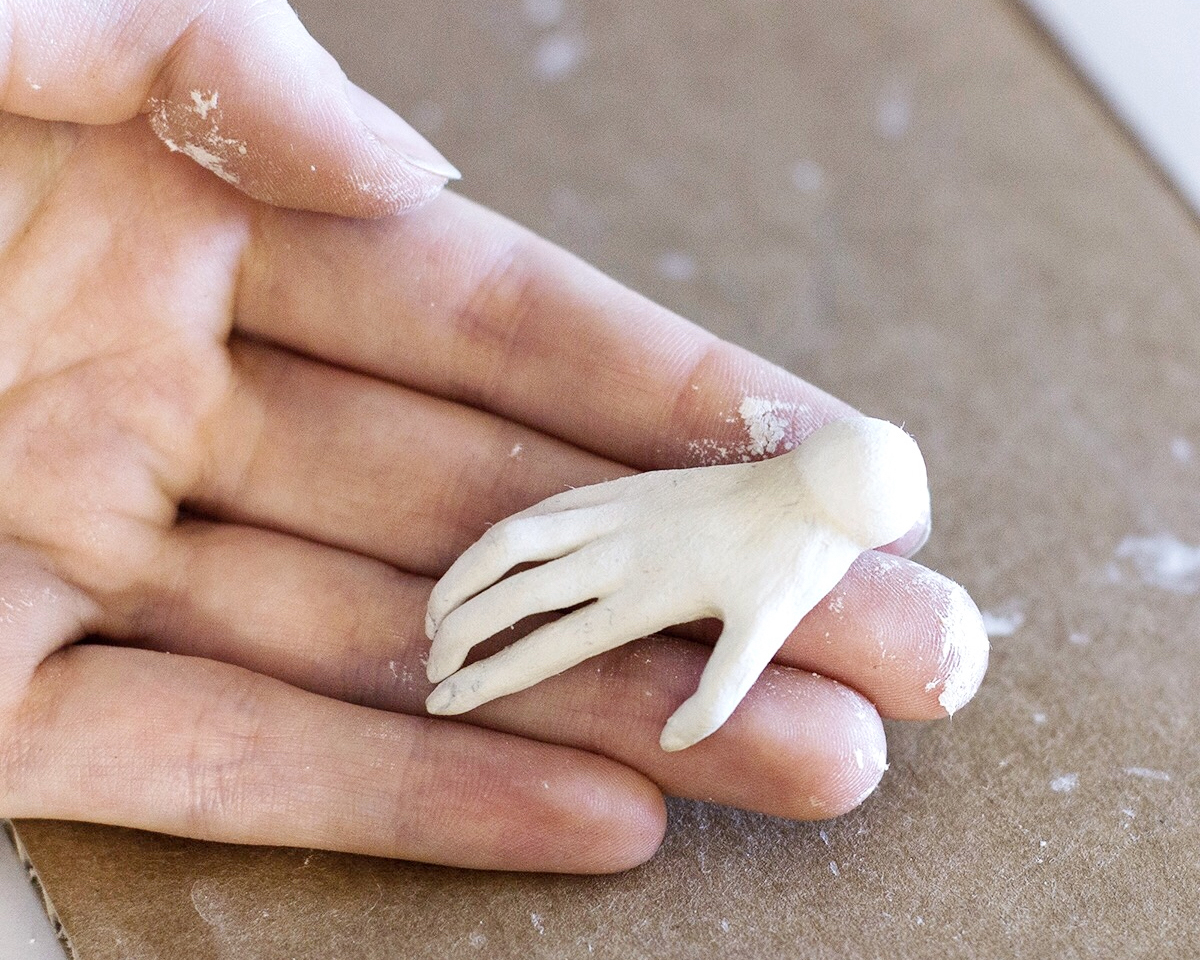
- Freeform: Use your fingers and tools to mold the clay into any shape you can imagine!
- Add Details: Use your tools to add details to your sculpture. You can use a toothpick to make lines, a plastic knife to carve out shapes, or your fingers to smooth out the clay.
- Let It Dry: Place your sculpture in a well-ventilated area to dry. Air-dry clay can take anywhere from 24 hours to a few days to dry completely, depending on the thickness of your sculpture and the humidity.
- Paint and Seal (Optional): Once your sculpture is completely dry, you can paint it with acrylic paints. You can also apply a sealant to protect your sculpture from dirt and moisture.
Tips for Success:
- Don’t Overwork the Clay: If you work the clay too much, it can become dry and brittle.
- Keep Your Clay Moist: If the clay starts to dry out, you can add a few drops of water to soften it up.
- Be Patient: It takes time for clay to dry completely. Don’t rush the process!
FAQs:
- Q: What if my clay cracks while it’s drying?
- A: Cracking can happen if the clay dries too quickly. Try to dry your sculpture in a humid environment. You can also add a little bit of water to the clay to help it dry more slowly.
- Q: Can I use air-dry clay to make jewelry?
- A: Yes, you can use air-dry clay to make jewelry! Just make sure to use a strong sealant to protect your jewelry from wear and tear.
- Q: How can I make my clay sculpture more durable?
- A: You can make your sculpture more durable by adding a sealant. A sealant will also help to protect your sculpture from dirt and moisture.
- Q: Can I use air-dry clay to make molds?
- A: You can use air-dry clay to make molds, but it’s not as strong as silicone molds. You can also use air-dry clay to make a mold of a small object and then pour plaster or resin into the mold.
- Q: What are some other fun things I can make with air-dry clay?
- A: You can make all sorts of fun things with air-dry clay! Here are a few ideas:
- Animals: Make a cute dog, cat, or bird.
- Food: Make a miniature pizza, cake, or ice cream cone.
- Decorations: Make a vase, a picture frame, or a decorative bowl.
- A: You can make all sorts of fun things with air-dry clay! Here are a few ideas:
Now it’s your turn! What kind of sculpture are you going to make today? What colors will you use? Tell me all about your project! I’m excited to see what you create!

Thus, we hope this article has provided valuable insights into Downloads Let’s Sculpt with Air-Dry Clay!. We thank you for taking the time to read this article. See you in our next article!