With great pleasure, we will explore the intriguing topic related to Let’s Blossom with Paper Flowers!. Let’s weave interesting information and offer fresh perspectives to the readers.
Introduction
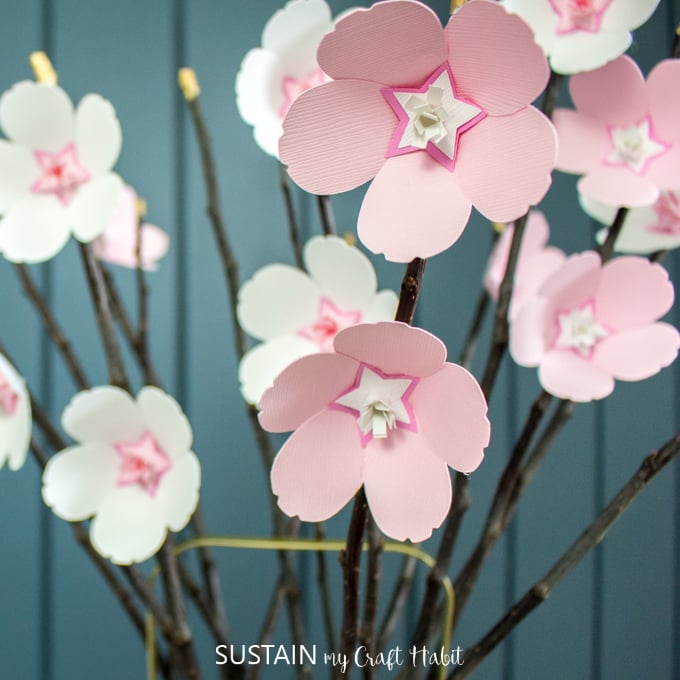
Let’s Blossom with Paper Flowers!

Hey there, budding artists! I’m your friendly neighborhood drawing teacher, ready to help you create beautiful paper flowers. Drawing is a fantastic way to express yourself, and it’s even more fun when you get to turn your drawings into something tangible like a paper flower.
Before we get started, I’d love to know a little more about you.
- What kind of paper flowers are you most excited to make? Are you dreaming of delicate daisies or vibrant sunflowers?
- What is your experience with drawing? Are you a seasoned artist, or are you just starting out?

Knowing this will help me tailor our lessons to your specific needs and interests.
The Magic of Drawing
Drawing is like a superpower that lets you create anything you can imagine! It’s a wonderful way to:
- Boost your creativity: Drawing gives you the freedom to experiment and explore different ideas.
- Improve your observation skills: Drawing forces you to pay close attention to the details of the world around you.
- Develop your problem-solving skills: Drawing involves figuring out how to translate three-dimensional objects onto a two-dimensional surface.
- Relax and de-stress: Drawing is a great way to unwind and escape from the pressures of everyday life.
- Express yourself: Drawing lets you share your thoughts and feelings in a unique and personal way.
Unfolding the Basics
Now, let’s dive into the fundamentals of drawing paper flowers!
1. The Power of Shapes:
Flowers are made up of simple shapes like circles, ovals, and petals. Start by practicing drawing these basic shapes. You can use a pencil, crayon, or even your finger!
- Circles: Imagine a round pizza or a sunny yellow sun. Practice drawing circles of different sizes.
- Ovals: Think of a stretched-out circle or an egg. Draw ovals of different lengths and widths.
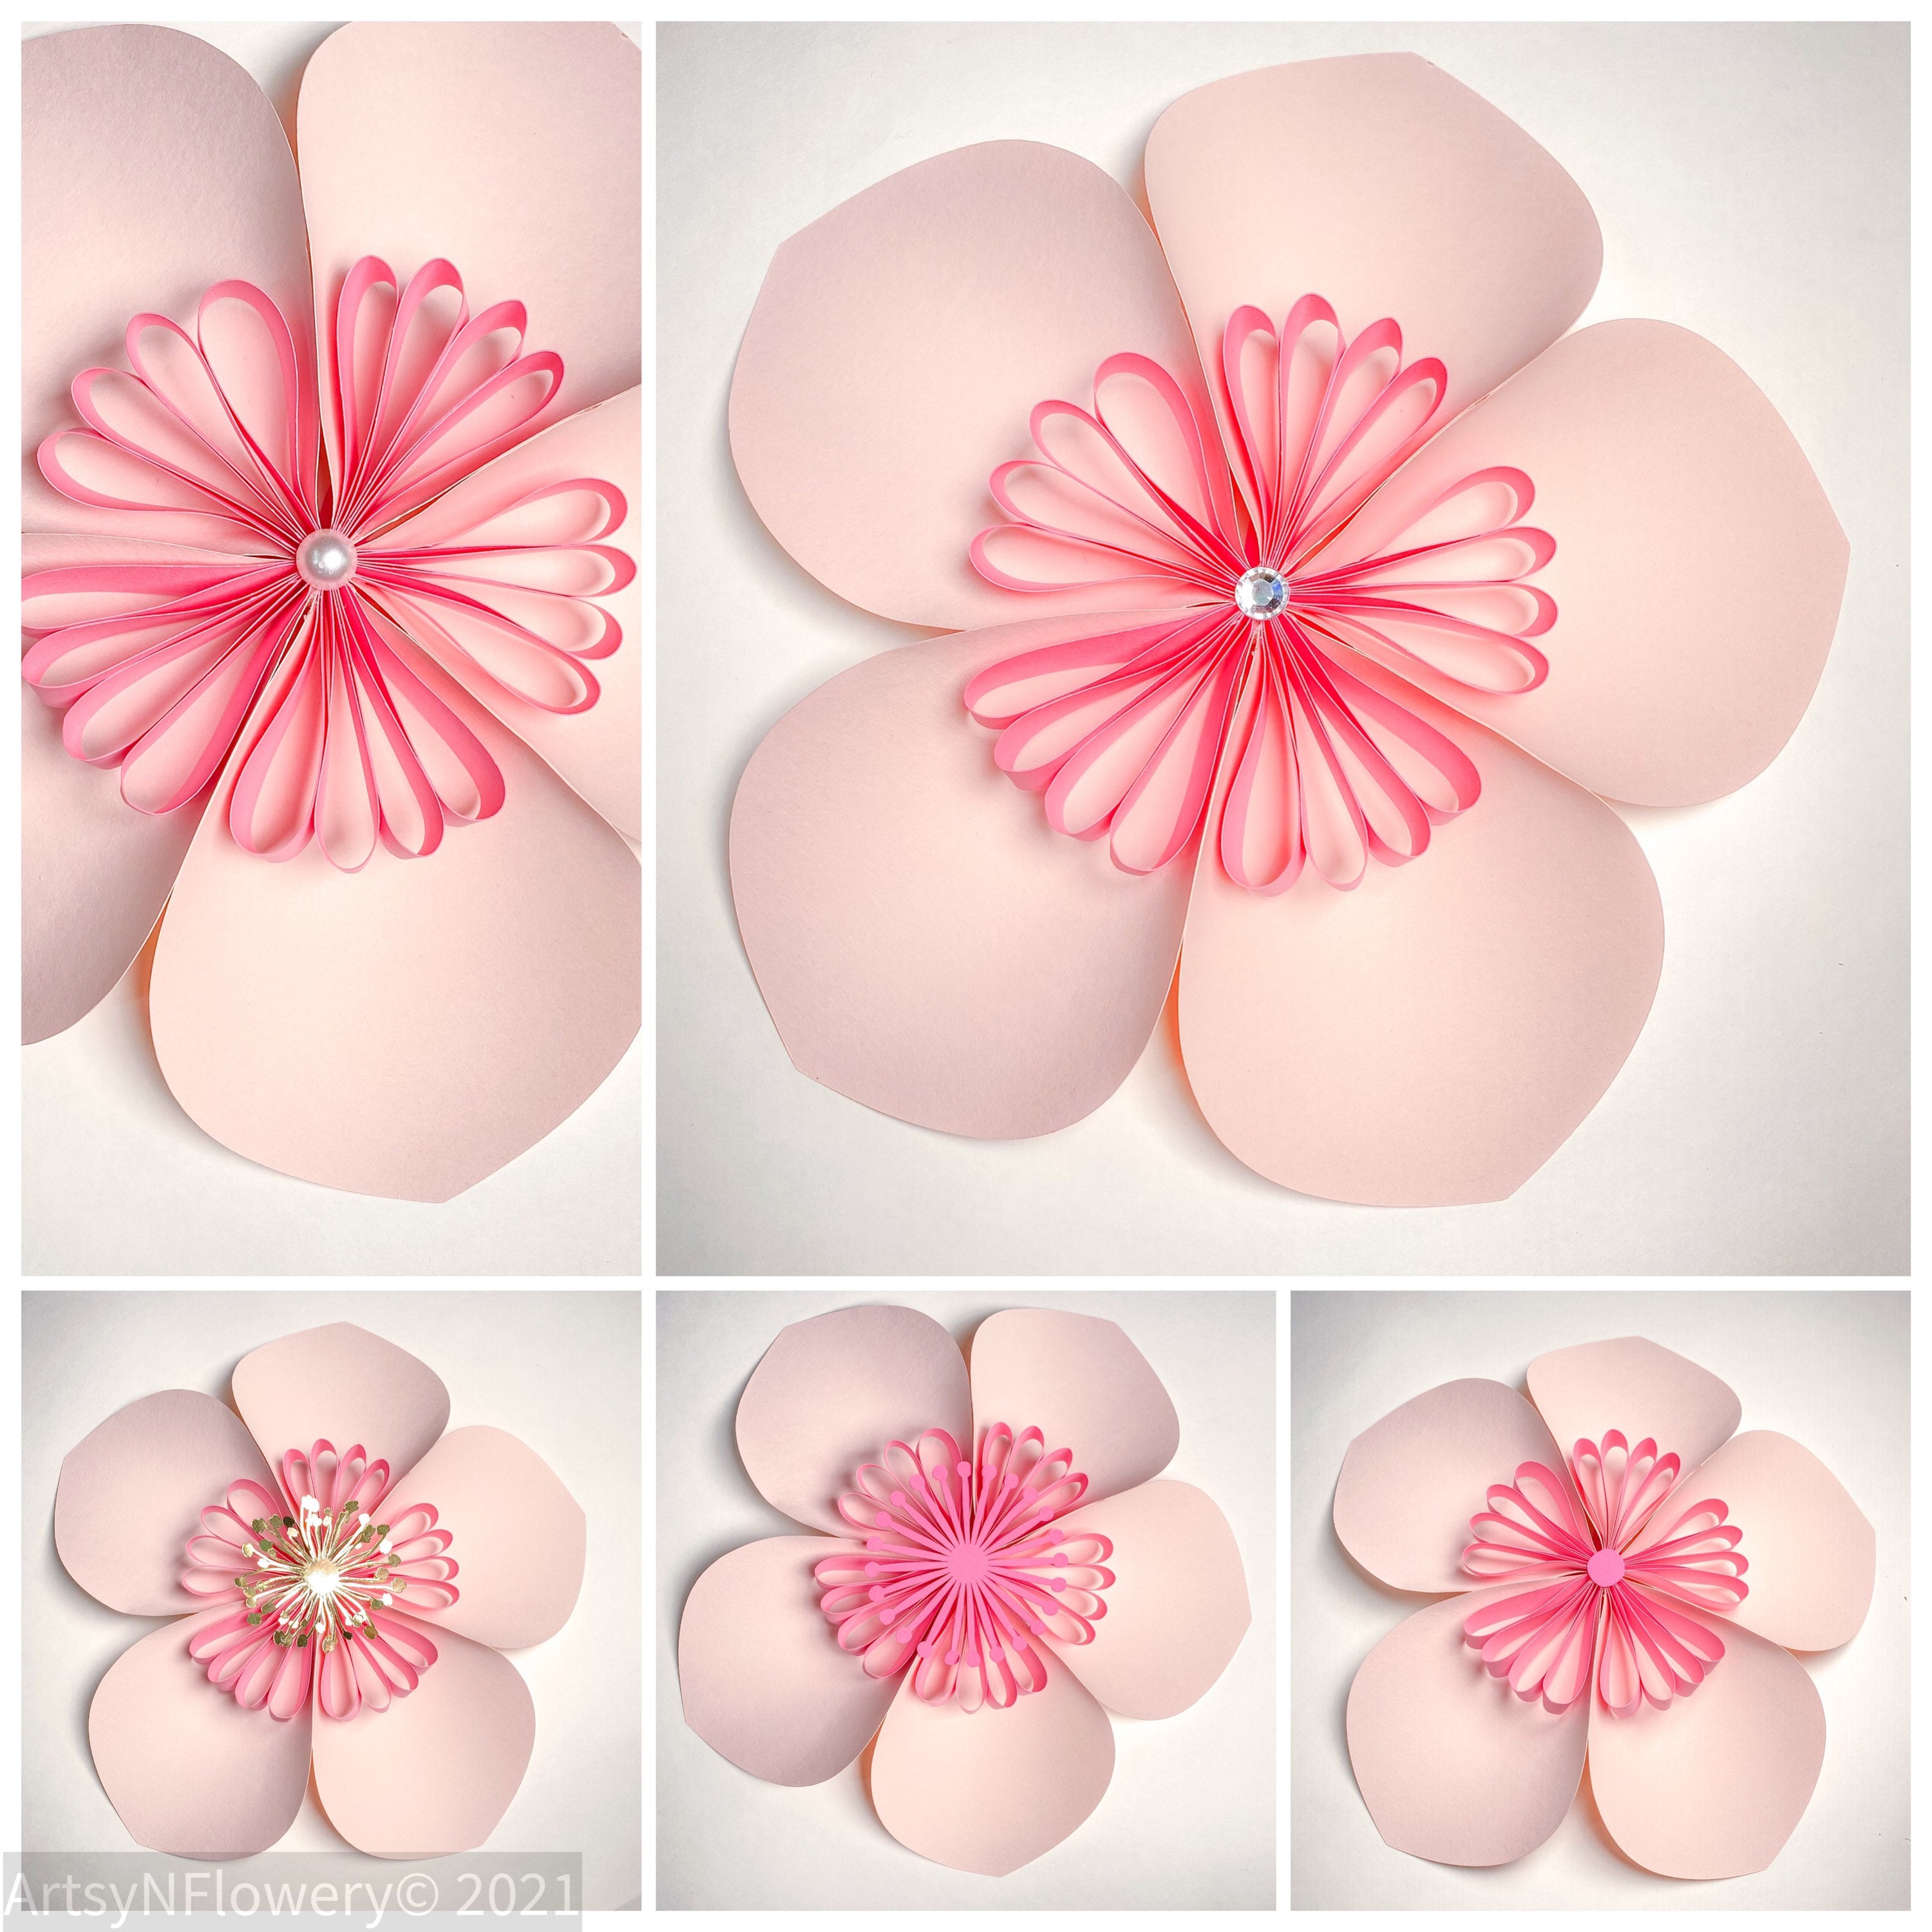
- Petals: Petals are like elongated ovals. Experiment with different petal shapes, like rounded, pointed, or wavy.
2. The Art of Lines:
Lines are the building blocks of drawing. They can be straight, curved, thick, thin, or even dotted.
- Straight lines: Imagine a fence or a ruler. Practice drawing straight lines of different lengths and angles.
- Curved lines: Think of a rainbow or a winding road. Draw curved lines of different sizes and directions.
- Combining lines: Use straight and curved lines to create interesting shapes and patterns.
3. Adding Depth and Dimension:
To make your paper flowers look realistic, we need to add some depth and dimension.
- Shading: Shading is the art of using light and dark values to create the illusion of depth. Use your pencil to create darker areas where shadows fall and lighter areas where light hits the flower.
- Highlighting: Highlighting is the opposite of shading. Use a white crayon or eraser to create bright spots where light reflects off the flower.
4. Bringing it all Together:
Now that you’ve mastered the basics, it’s time to put everything together and draw your paper flower!
- Start with a simple sketch: Use light pencil lines to outline the basic shapes of your flower.
- Add details: Once you’re happy with the outline, start adding details like petals, leaves, and stems.
- Use shading and highlighting: Use shading and highlighting to create depth and dimension.
- Color your flower: Use crayons, markers, or colored pencils to bring your flower to life!
FAQs about Paper Flowers
1. What kind of paper is best for making paper flowers?
- Answer: You can use a variety of papers for making paper flowers, but thicker papers like cardstock or construction paper work best. They hold their shape better and are less likely to tear.
2. What tools do I need to make paper flowers?
- Answer: You don’t need a lot of fancy tools! All you really need is paper, scissors, glue, and a pencil. You can also use other tools like a ruler, compass, or hole punch to help you create more intricate designs.
3. How can I make my paper flowers look more realistic?
- Answer: Here are a few tips:
- Use different shades of color: Instead of using just one shade of color, use different shades to create depth and dimension.
- Add texture: You can add texture to your paper flowers using techniques like crumpling, scrunching, or embossing.
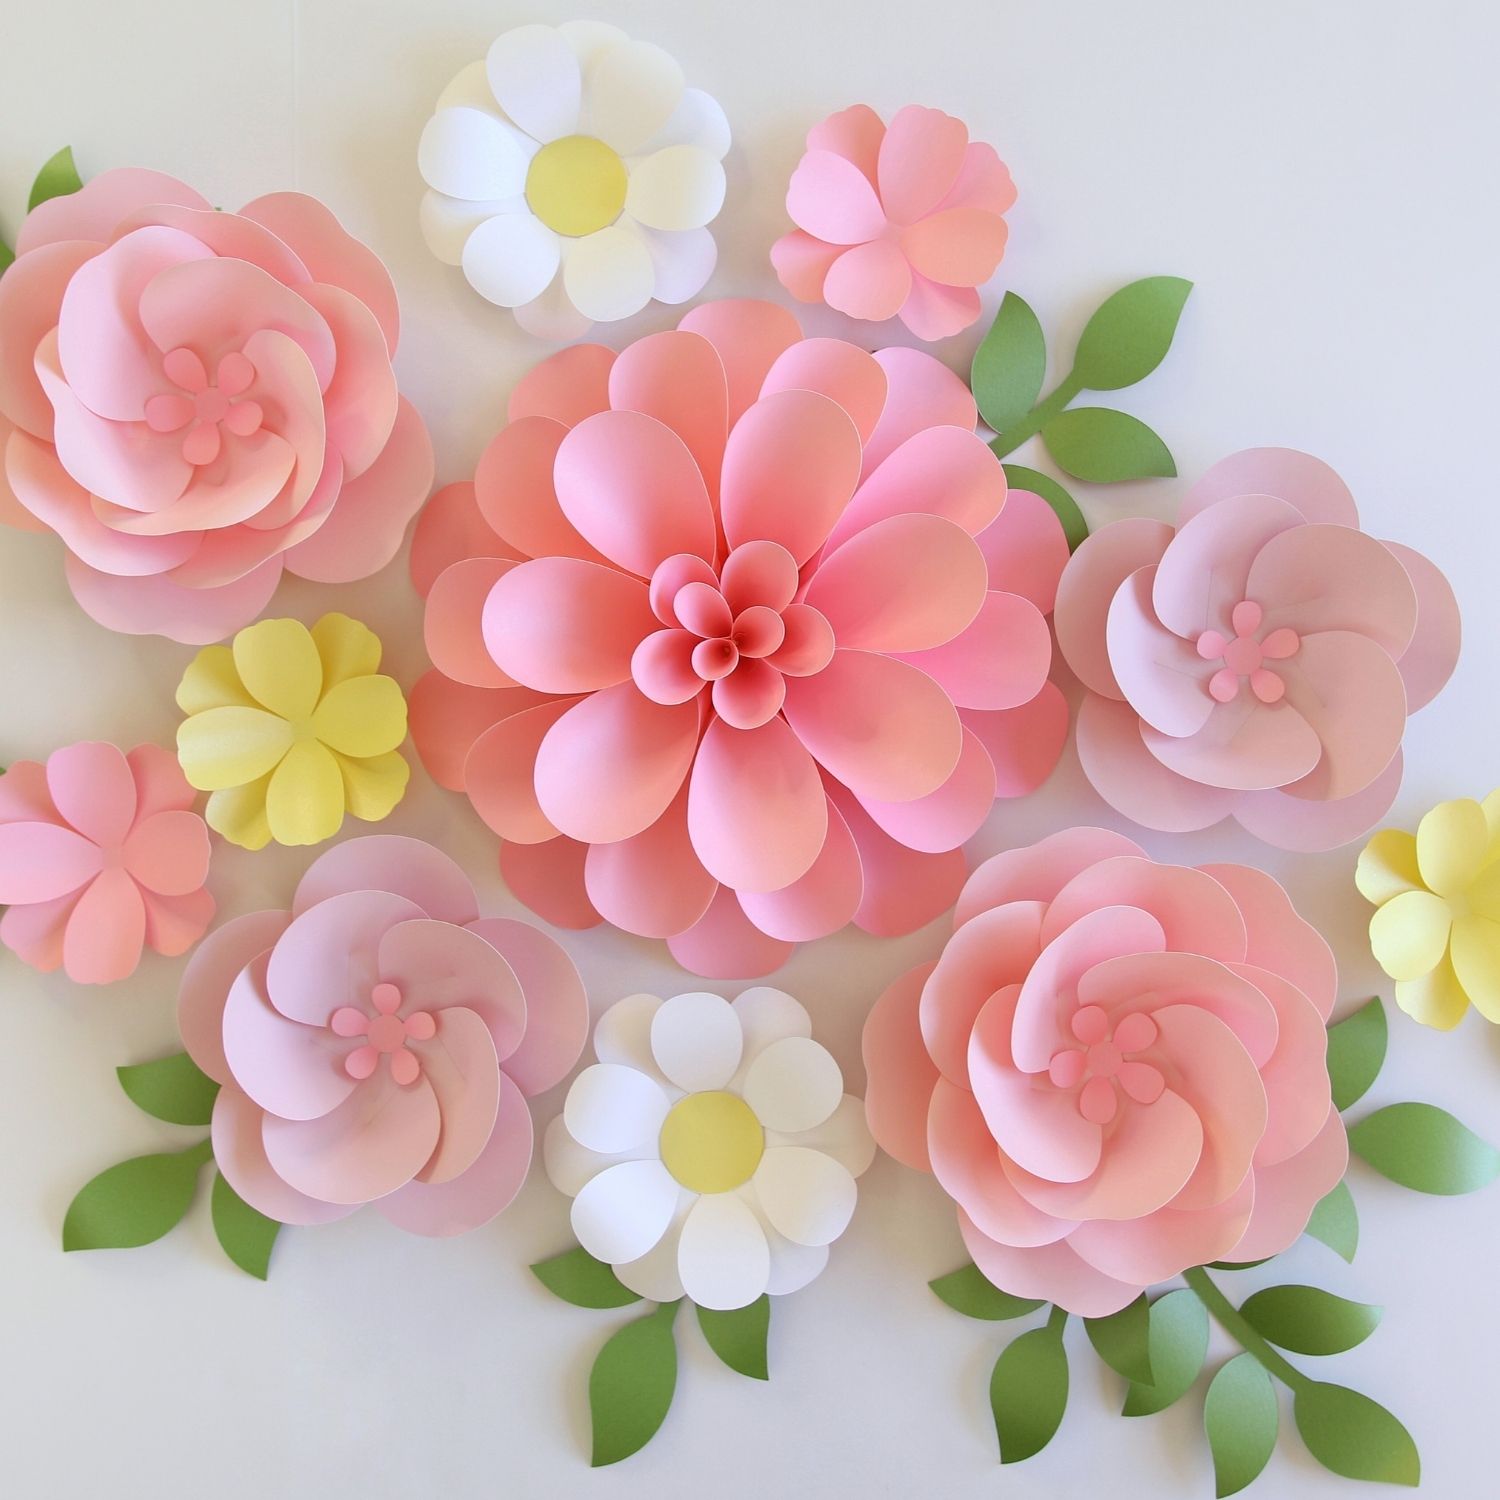
- Use real flowers as inspiration: Look at real flowers for inspiration and try to mimic their shapes, colors, and textures.
4. What can I do with my paper flowers once I’m finished?
- Answer: The possibilities are endless! You can:
- Display them in a vase or bouquet.
- Use them as decorations for your home or classroom.
- Give them as gifts to friends and family.
- Create a paper flower garland.
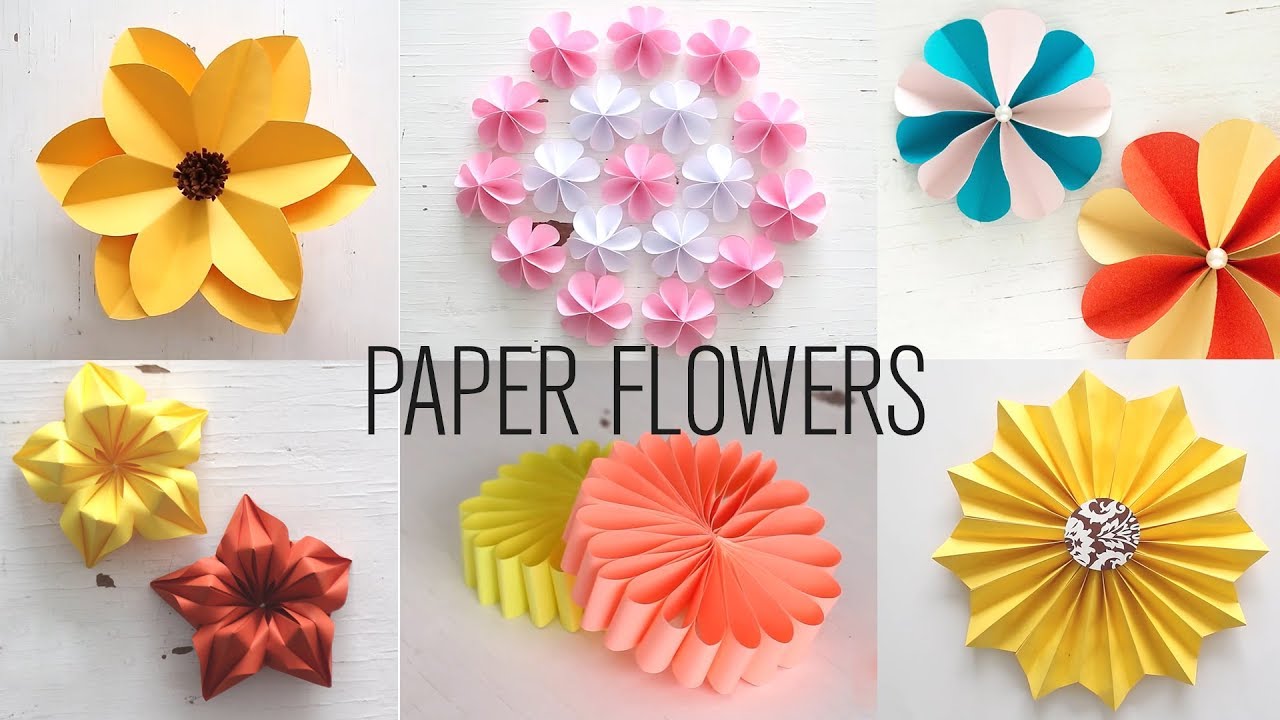
5. Where can I find more ideas for paper flower designs?
- Answer: There are tons of resources online and in libraries! You can find free tutorials, patterns, and templates for all sorts of different paper flowers.
Ready to Bloom?
I hope this lesson has inspired you to create your own beautiful paper flowers! Remember, drawing is a journey, not a race. Don’t be afraid to experiment, make mistakes, and have fun!
Now, tell me, what kind of paper flower are you going to create first? I’m excited to see your blossoming masterpieces!

Thus, we hope this article has provided valuable insights into Downloads Let’s Blossom with Paper Flowers!. We hope you find this article informative and beneficial. See you in our next article!