With great pleasure, we will explore the intriguing topic related to blendable colored pencils. Let’s weave interesting information and offer fresh perspectives to the readers.
Introduction
Hey there, aspiring young artists! It’s so exciting to see you eager to learn how to draw. I’m your friendly neighborhood art teacher, and I’m here to guide you through the magical world of drawing with blendable colored pencils.
Before we jump into the fun stuff, let’s talk about what makes colored pencils so special.
Why Blendable Colored Pencils?
- Smooth and Easy: Blendable colored pencils are like crayons that grow up! They have a soft, smooth core that glides effortlessly across paper, making it super easy to create beautiful lines and shades.
- Blending Magic: The "blendable" part is where the real magic happens. These pencils are formulated to allow you to layer colors and create smooth transitions between them. It’s like mixing paint, but with pencils!
- Endless Possibilities: You can use blendable colored pencils for everything from realistic portraits to whimsical landscapes. You can even use them to create textured effects, like fur, feathers, or even water!

Let’s Get Started: Your Drawing Adventure Begins!
1. Tools of the Trade:
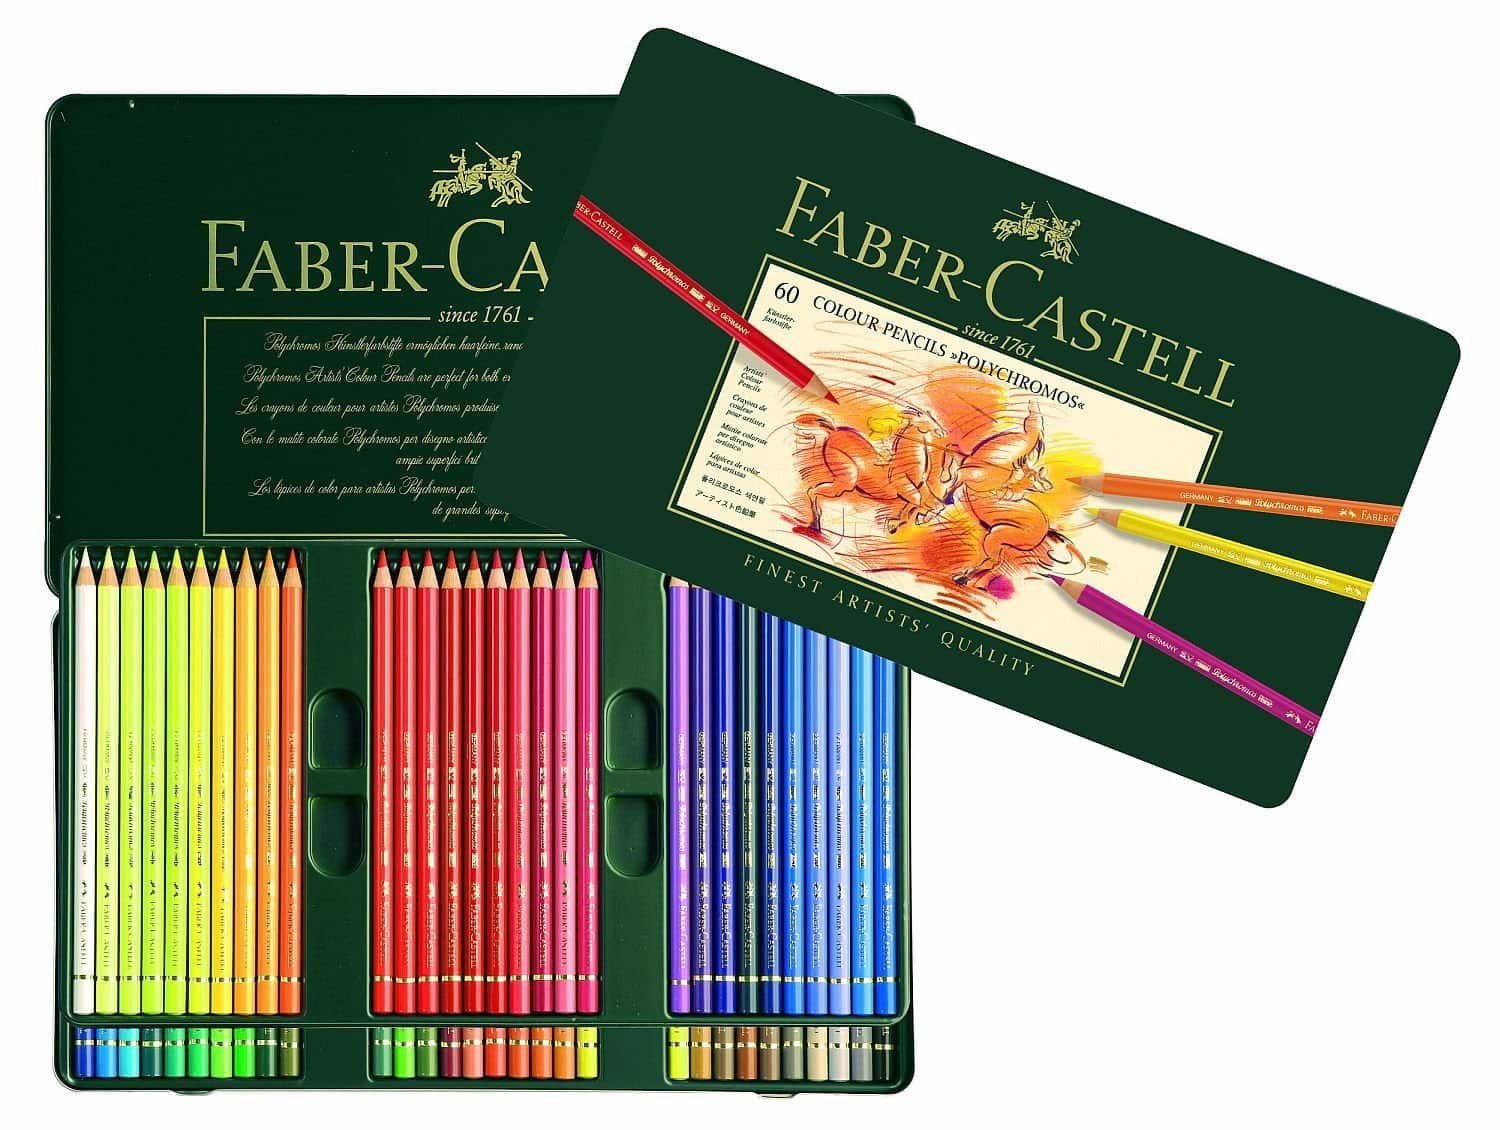
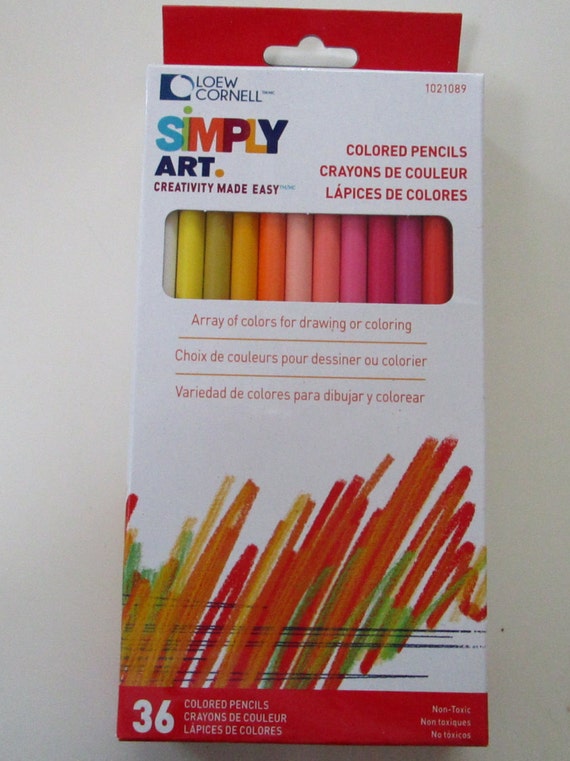
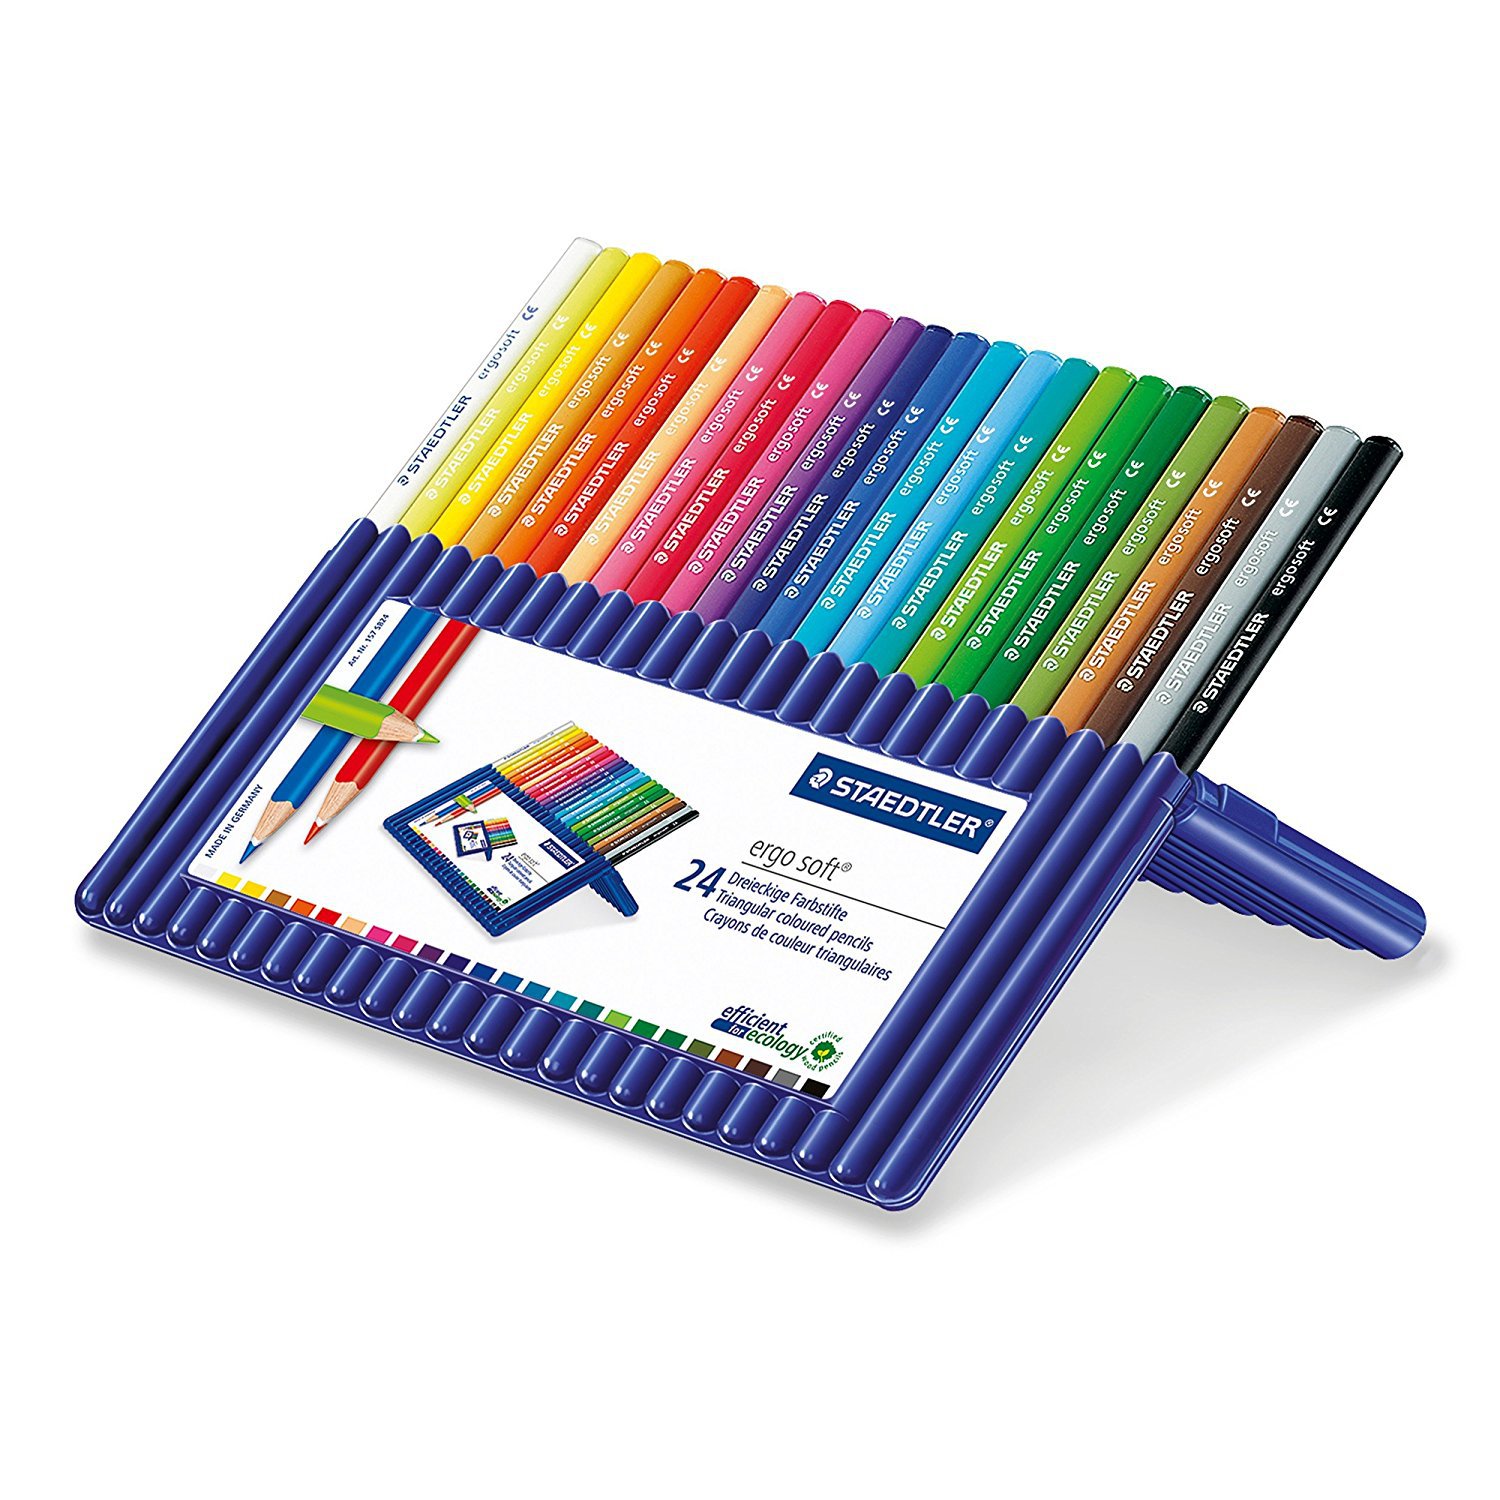
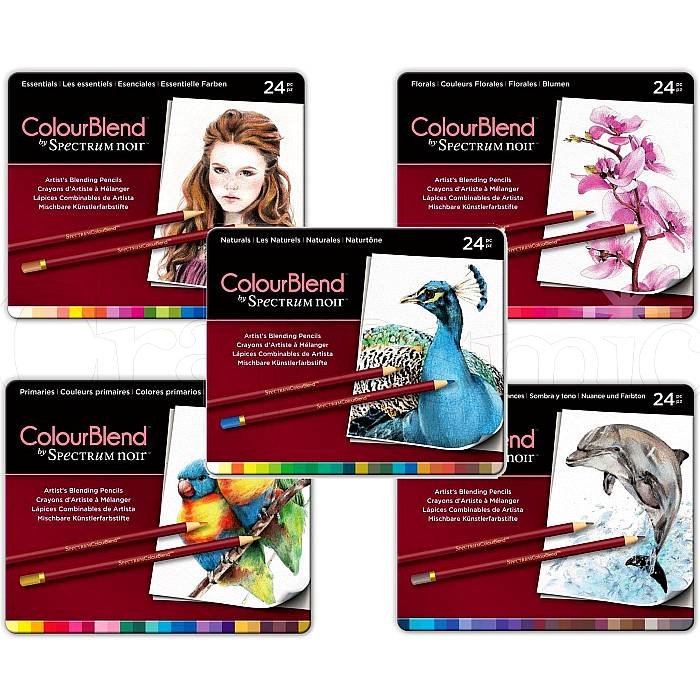
- Blendable Colored Pencils: You’ll need a set of blendable colored pencils. There are many different brands available, so experiment and find your favorites.
- Paper: Choose a smooth drawing paper. It’s best to avoid paper that’s too textured, as it can make blending difficult.
- Blending Tools: You can use a variety of tools to blend your colors, such as:
- Cotton Swabs: These are great for blending small areas.
- Paper Stumps: These are small, cylindrical tools made of rolled paper. They’re ideal for blending larger areas.
- Tortillon: This is a blending tool made of rolled paper that has a pointed end. It’s great for creating smooth, even transitions.
- Eraser: A good eraser is essential for correcting mistakes.


2. Basic Drawing Techniques:
- Lines: Start by practicing drawing different types of lines: straight lines, curved lines, wavy lines, etc. Experiment with different pressures to create thick and thin lines.
- Shapes: Once you’re comfortable drawing lines, move on to shapes. Start with simple shapes like circles, squares, and triangles. Then try more complex shapes like hearts, stars, and flowers.
- Shading: Shading is the art of creating the illusion of light and shadow. To shade, you’ll use your colored pencils to create darker and lighter areas.
- Hatching: This technique uses parallel lines to create shading.
- Cross-Hatching: This technique uses lines that cross over each other to create shading.
- Circular Shading: This technique uses small, circular strokes to create shading.
3. Putting It All Together:
Now it’s time to combine your drawing skills! Here are some ideas for your first drawings:
- Fruits and Vegetables: These are great subjects for practicing shading and color blending.
- Animals: Draw your favorite animals, from cute cats and dogs to majestic lions and tigers.
- Landscapes: Draw a simple landscape, like a field with a tree or a mountain scene.
4. Practice Makes Perfect:
The most important thing is to practice! The more you draw, the better you’ll become. Don’t be afraid to make mistakes. Every mistake is a learning opportunity.
5. Have Fun!
Drawing should be enjoyable! So relax, experiment, and let your creativity flow.
FAQs
1. How do I choose the right colored pencils?
- Consider your budget: There are many different brands of colored pencils, ranging in price. Choose a set that fits your budget and your needs.
- Think about the blending quality: Look for pencils that are known for their smooth blending properties.
- Experiment with different brands: Try out different brands to see which ones you like best.
2. How do I sharpen my colored pencils?
- Use a sharpener specifically designed for colored pencils. These sharpeners have larger holes that can accommodate the thicker cores of colored pencils.
- Sharpen your pencils to a point, but not too sharp. A sharp point is essential for precise lines, but a very sharp point can break easily.
3. How do I blend my colors smoothly?
- Layer your colors lightly. Don’t press too hard, or you’ll create a harsh line.
- Use a blending tool to smooth out the transitions between your colors. Experiment with different blending tools to see which ones you prefer.
- Practice, practice, practice! The more you blend, the better you’ll become at it.
4. What if I make a mistake?
- Don’t worry about making mistakes! Everyone makes mistakes, even experienced artists.
- Use a good eraser to correct your mistakes.
- If you can’t erase a mistake, try to work it into your drawing. Sometimes, a mistake can lead to an unexpected and beautiful result.
5. What are some tips for drawing different textures?
- For fur, use short, overlapping strokes. You can also use a blending tool to create a soft, fuzzy look.
- For feathers, use long, flowing strokes. You can also use a blending tool to create a smooth, iridescent look.
- For water, use a light touch and a blending tool. Try to create a sense of movement and fluidity.
I hope this guide has been helpful. Remember, the best way to learn how to draw is to practice and experiment! Have fun, and don’t be afraid to let your creativity shine!
Now, tell me, what are you most excited to draw? What kind of subjects or techniques are you hoping to master? Let’s keep this art journey going!
Thus, we hope this article has provided valuable insights into Downloads blendable colored pencils. We thank you for taking the time to read this article. See you in our next article!